
Quick answer: A proper bathroom leak inspection covers five areas: the shower recess and grout lines, tap and mixer connections, the vanity and toilet base, ceilings and walls in adjoining rooms, and your water meter. Start with a visual check for stains, damp spots and lifting tiles. Then run a water meter test to confirm hidden loss. Anything behind a wall or under a slab needs a professional building inspector to assess the overall condition.
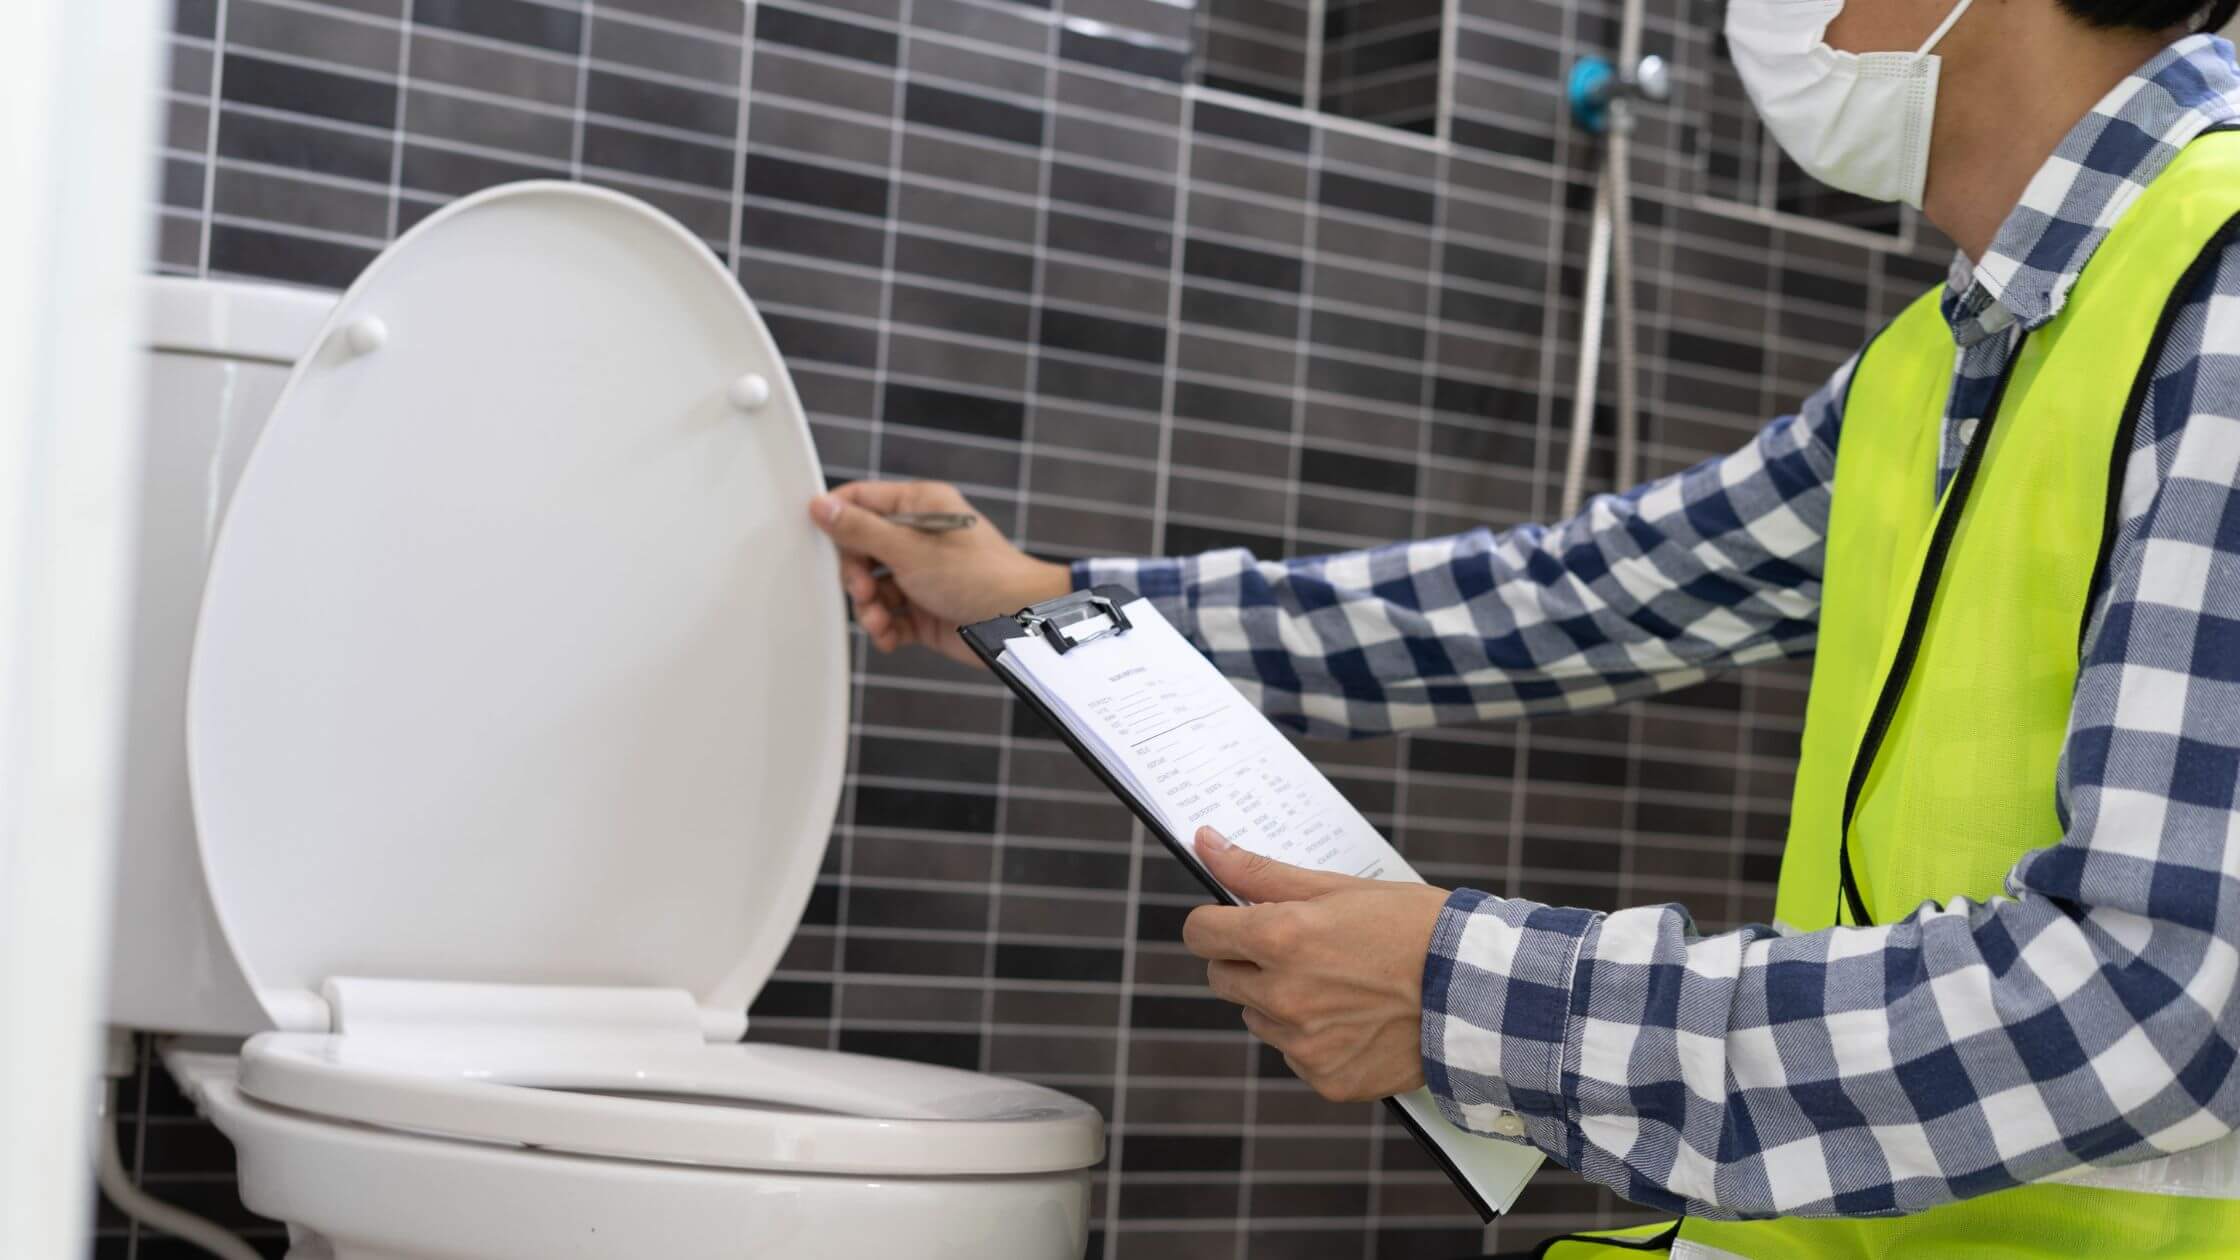
Table of Contents
A bathroom leak rarely announces itself. By the time you spot the brown patch on the ceiling below or notice the skirting board has warped, water has usually been tracking through your home for weeks. Left unchecked, small leaks turn into big repair bills quickly. They often sit at the heart of buyer negotiations, failed warranty claims and awkward pre-sale surprises. This guide walks you through how to identify problems early, what warning signs to watch for, and when the job has outgrown a DIY check. Whether you own the home, rent it out, or are about to buy one, spotting a leak early is the cheapest fix you will ever make.
Key Takeaways:
- Water damage accounts for roughly a quarter of all Australian home insurance claims, with the average claim sitting around $5,000.
- Most bathroom leaks start at the shower recess, grout lines, silicone seals or tap connections.
- A simple water meter test can confirm a hidden leak in under an hour, often on the same day you first notice a problem.
- Signs to watch for include musty smells, bubbling paint, lifting tiles, warped door frames and stains on the ceiling of the room below.
- Some leaks look like cosmetic improvements are needed but point to major structural defects behind the wall.
- A pre purchase building inspection is the right call before buying, selling or reaching the end of a builder’s warranty period.
Why Bathroom Leaks Deserve Your Attention Early
Water damage is one of the most expensive problems a home can develop, and bathrooms are ground zero. QBE claims data found water damage incidents account for almost a quarter (24%) of all home insurance claims, making it one of QBE’s most common home insurance claims, with the average claim coming in at $5,000, and more severe claims reaching over half a million dollars. That is not a rare, worst-case story. It is a routine outcome when a slow leak sits behind a wall for months.
The problem is that most homeowners are unprepared. Almost 30 per cent of Australians don’t know what home maintenance tasks can prevent water damage, with 16 per cent not knowing that home maintenance can prevent it in the first place. That knowledge gap is why a proper inspection routine matters. Adequate insurance cover helps after the fact, but early detection stops the damage before it starts. You do not need to be a plumber to catch the early signs. You just need to know where to look and what “off” looks like.
Warning Signs a Bathroom Leak Is Already Happening
Leaks give themselves away in different ways depending on where they sit. Grouping the signs by location makes them easier to spot on a walk-through.
Visual Signs on Walls, Ceilings and Floors
Look for paint that bubbles, flakes or feels soft when pressed. Brown or yellow stains on the ceiling below a bathroom are a classic marker of moisture intrusion tracking down through the floor. Tiles that lift, sound hollow when tapped, or have crumbling grout between them usually point to water underneath. Silicone that has gone black or peeled away from the shower screen is another red flag. Damp patches near the floor may also indicate rising damp coming up through the slab.
Signs You Can Smell or Feel
A bathroom should dry out substantially between uses. If yours feels damp hours after the last shower, water is sitting somewhere it shouldn’t. Musty odours, particularly under the vanity or near the skirting, often signal mould growth from a slow leak. Cold spots on walls or floors can also point to moisture behind the surface.
Signs on Your Water Bill and Meter
An unexplained jump in your water bill is one of the clearest signals of a hidden leak. According to Sydney Water, a leaking toilet can waste as much as 260 litres of water every day, and a dripping tap can waste as much as 200 litres a day. Multiply that across a quarter and the bill spike is obvious. If your usage climbs without a lifestyle change, it is time to run a meter test.
Signs in Adjoining Rooms
Bathroom leaks don’t stay in the bathroom. Check the ceiling and cornices of the room directly below. Look for swollen timber door frames, jamming doors, buckling floorboards and water marks along skirting boards in adjacent spaces. A leak in a first-floor bathroom often shows up in the living room ceiling before you notice anything upstairs. Persistent damp timber is also a magnet for termites and other pests, which is why a pest inspection often goes hand in hand with any moisture investigation.
How to Properly Inspect Your Bathroom for Leaks
Here is the step-by-step method. Work through it in order, and give yourself about 90 minutes for a thorough check.
Step 1 – Check the Shower Recess and Grout Lines
Start with the shower. Run your fingers along the grout between wall and floor tiles. Any grout that crumbles, is missing or feels soft is letting water through. Check the silicone in the corners of the recess, around the screen and where the shower base meets the wall. Discolouration, gaps or lifting silicone are all signs the seal has failed.
Building movement is the reason most showers eventually leak. Wall vibration and natural expansion open small gaps that grout alone cannot handle. If your grout looks fine but you still suspect a leak, the waterproof membrane underneath may be the issue.
Step 2 – Test the Tap Fittings and Mixer Connections
Turn each tap on and off slowly. Check for drips at the base of the spout and around the handles. Feel underneath the sink for moisture on the flexible hoses that connect to the mains. These hoses are one of the leading causes of household water damage in Australia. Corrosion, bulging or dampness at the connection points means the hose is on borrowed time.
Step 3 – Inspect Under the Vanity and Around the Toilet Base
Open the vanity cupboard and shine a torch on the pipework. You are looking to identify water marks on the base of the cabinet, corrosion on fittings and any dampness on the trap. Do the same around the toilet base. A wax ring seal that has failed will let water seep out at floor level, often staining the flooring around the pan and softening the subfloor.
Step 4 – Run the Water Meter Test
This is the fastest way to confirm a hidden leak. Turn off everything in your house that uses water. Look at your water meter and note down the numbers on the red dials. Taking a photo of the meter dials is the best method. Wait for at least one hour with all taps still off. Recheck your water meter. Any movement on the red dials indicates you have a leak. If the dials have moved, you have water escaping somewhere on the property. That doesn’t confirm the leak is in the bathroom, but combined with any visual signs, it is a strong indicator.
Step 5 – Check the Ceiling of the Room Directly Below
Walk into the room directly under your bathroom. Look up. Check for stains, sagging plaster, discoloured paint or a musty smell near the ceiling. If your bathroom is on a slab, look at the exterior wall of the house near ground level for damp patches or efflorescence, which is the white powdery residue left behind when water evaporates through masonry.
Common Causes of Bathroom Leaks
Once you have a suspicion, matching the symptom to a likely cause helps you decide whether it is a Saturday morning job or a phone call to a professional.
Source of Leak | Typical Cause | DIY or Professional? |
Failed grout | Building movement, general ageing | DIY if minor and surface-level |
Silicone breakdown | Age, harsh cleaning products | DIY |
Loose tap or mixer connection | Worn washers, seals | DIY for confident owners |
Flexi hose failure under vanity | Corrosion, age, pressure | Licensed plumber |
Cracked pipe behind wall | Corrosion, movement, freezing | Licensed plumber |
Damaged waterproof membrane | Original workmanship, wear | Waterproofing specialist |
Toilet base seal (wax ring) | Age, floor movement | Licensed plumber |
Cracked shower base or hob | Building movement, impact | Waterproofing or building specialist |
Flexi hoses in particular deserve extra attention. According to Chubb Insurance, burst flexi hoses are the leading causes of water damage in Australia, and the average claim from water damage has increased by 72% in the past five years. Most manufacturers recommend replacing flexi hoses every 5 to 10 years, and it is one of the cheapest preventative jobs in the house.
When a DIY Check Isn't Enough
Your visual inspection and meter test can catch a lot. What they cannot do is confirm what is happening behind the tiles, under the slab or inside the wall cavity. Once a leak reaches the waterproof membrane, the timber framing or the subfloor, you are dealing with structural risk rather than a surface fix. Fixing problems at this stage usually means calling in a licensed builder rather than a handyman.
Professionals bring tools that a homeowner simply cannot replicate. Thermal imaging cameras pick up temperature differences behind walls where moisture has settled. Moisture meters give a precise reading on how much water has soaked into plasterboard or timber. Trained inspectors also know what patterns of damage look like across a whole property, which is critical if the leak has been active for a while. A qualified inspector carries professional indemnity, so the written professional building inspection report they issue carries real weight if you need to enforce it later.
This becomes especially important around a property transaction. If you are buying a home in Geelong or Melbourne, a bathroom leak can be a symptom of much bigger issues that a paint job has covered over. A pre-purchase building and pest inspection picks up on moisture patterns, timber damage from termites drawn to damp areas, and structural movement that a walk-through would never catch. The property inspection report includes clear repair recommendations, and the cost is a fraction of what you would spend rectifying an undisclosed leak after settlement.
Bathroom Leaks and Property Value
Leaks affect three groups of property owners in different ways, and each needs a different response.
Buyers should treat any visible moisture damage as a negotiation point. A stained ceiling below a bathroom or a swollen skirting board isn’t a minor cosmetic issue. It is a signal that the property has an active or recent leak, and the extent of the damage may only become clear once walls are opened up. A pre-purchase written inspection report gives you the evidence needed to make an informed decision, negotiate a lower price, or walk away before contracts are exchanged.
Sellers benefit from finding leaks before buyers do. A pre-sale inspection lets you rectify the problem on your own terms, using tradespeople you trust, without the pressure of a cooling off period ticking down. It also removes the risk of a buyer using the issue to push the purchase price down at the last minute. Spending money on repairs before listing is almost always cheaper than absorbing a price reduction after exchanged contracts.
Owners approaching the end of a builder’s warranty should book an inspection before that window closes. Waterproofing defects are one of the most common warranty claims on a new home, and once the warranty expires, the cost of rectification lands on you. Getting a defect report written up while the builder is still on the hook is one of the highest-value inspections you can commission.
Catch Bathroom Leaks Before They Cost You
A bathroom leak is one of those problems that gets exponentially more expensive the longer you leave it. A morning spent checking grout, silicone, tap fittings and the water meter can save thousands in rectification work. It might also flag a structural issue you would otherwise only discover during a sale or at the end of a warranty period.
If your check turns up warning signs, or you are about to buy or sell a property, a qualified inspector gives you the certainty a DIY walk-through cannot. Get the report, get the evidence, and make the decision from a position of information rather than guesswork.
FAQs about Building and Pest Inspections
Signs include lifting or hollow-sounding tiles, damp patches on the ceiling of the room below, warped skirting boards and a musty smell near the floor. The water meter test will confirm active water loss even when the leak is out of sight.
Yes. Water that reaches the timber framing, subfloor or slab edges can cause rot, corrosion of steel reinforcement and long-term movement in the structure. Leaks also attract termites, which significantly compound the damage.
A minor grout or silicone repair might cost a few hundred dollars. A failed waterproof membrane usually requires removing and re-tiling the wet area, which typically costs $3,000 to $8,000 depending on the bathroom’s size. Structural repairs from long-term damage can push well beyond that.
Insurance generally covers the resulting damage but not the cost of repairing the failed pipe, seal or membrane itself. Claims from gradual leaks are also often excluded, which is why early detection matters. Check your policy wording carefully.
A slow leak behind a wall can run for months before it produces a visible sign. That is why a scheduled building and pest inspection routine, or a professional check during any property transaction, is so valuable.
In Victoria, landlords are responsible for maintenance issues that affect the property’s condition, including leaks. Tenants should report the issue in writing as soon as they notice it. Repairs must be organised by the landlord or property manager within a reasonable timeframe. If the issue is not resolved, tenants can escalate to their local council or Consumer Affairs Victoria.





2 Responses